

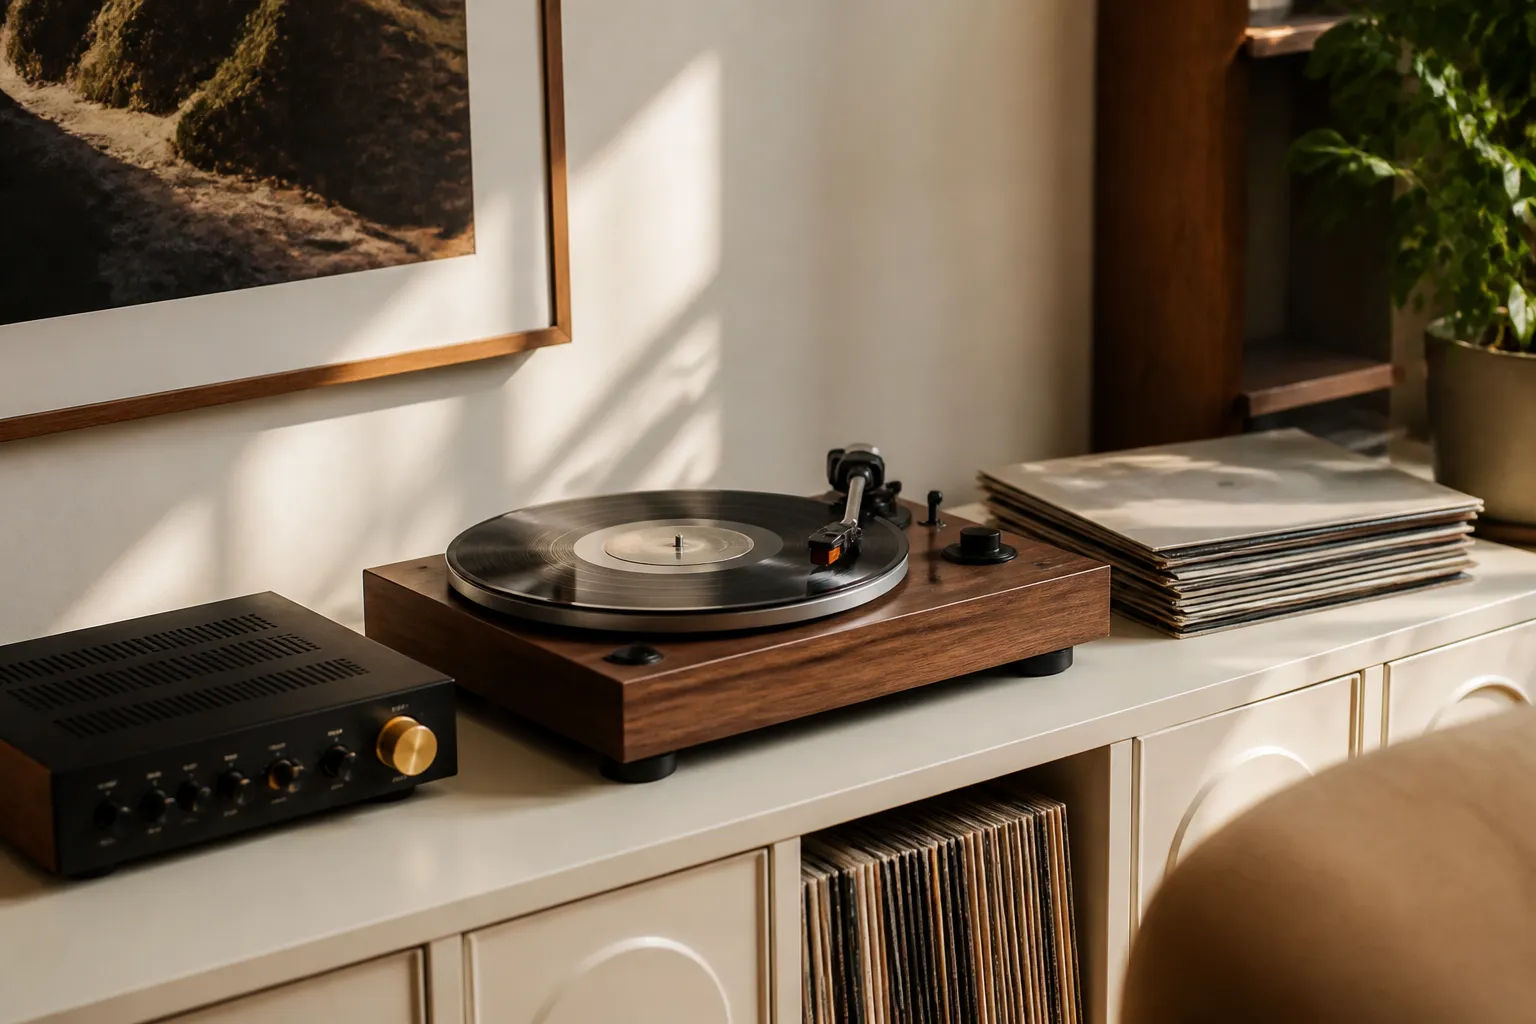
Setting Up Your First Turntable: A Step-by-Step Guide
A new turntable rewards careful setup. Skip the steps and even a great deck will underperform; follow them and a modest deck will sing. This guide walks through the essentials every first-time owner should know.
1. Place the Plinth on a Stable Surface
Choose a level, sturdy surface away from speakers and foot traffic. Vibrations reach the stylus far more than owners expect. A dedicated shelf or wall mount beats a wobbly side table.
2. Fit the Platter and Belt
For belt-drive decks, loop the belt around the motor pulley and platter sub-platter before seating the main platter. For direct-drive decks, simply place the platter onto the spindle.
3. Install the Cartridge and Headshell
If not pre-mounted, align the cartridge using the supplied protractor. The stylus must track the groove at the correct overhang — a few millimetres off audibly degrades imaging.
4. Balance the Tonearm and Set Tracking Force
With the counterweight, float the tonearm so it balances level. Then dial in the recommended tracking force for your cartridge — typically 1.5 to 2.0 grams for MM cartridges. Use a cheap digital scale to verify.
5. Set Anti-Skate
Set anti-skate to roughly match the tracking force. This counters the inward pull of the groove and keeps the stylus centred.
6. Connect to a Phono Stage
Most turntables need a phono preamp (MM or MC). Connect the deck to a phono input, or use a built-in preamp if your oneplusone model has one. Switch the preamp on, lower the stylus, and enjoy.